Rquest & Beautiful Soup with ProxyPanel
2023-09-08 14:26

2023-09-08 14:26

Beautiful Soup is a powerful Python library designed for extracting data from HTML and XML files. It simplifies the process of web scraping by providing intuitive methods for navigating, searching, and modifying the parse tree of web documents. With Beautiful Soup, you can effortlessly extract and manipulate data from complex web pages, making it an essential tool for data analysts, developers, and anyone involved in data extraction tasks. By working seamlessly with various parsers, Beautiful Soup helps streamline the process of converting raw HTML or XML into structured, usable data.
Install Python from the official website.
Check if Python is installed correctly, you can use the following command in your terminal or command prompt
python --versionThe output should be in the following format:
Python 3.11.2
If you receive an error or see a version number starting with 2.x, you need to download Python 3.x and follow the installation instructions to set it up
Next, create a new Python project and install the requests package
pip install requestsAfter installing the requests package, you need to install Beautiful Soup. Use the following command to install Beautiful Soup along with its required parser:
pip install BeautifulSoup4This command installs the BeautifulSoup4 package, which is commonly used for parsing HTML and XML documents.
We will use ProxyPanel to set up the `requests` package for parsing Amazon items with Beautiful Soup. Begin by retrieving your proxy information from the ProxyPanel dashboard.
import requests

# URL to scrape
url = 'https://www.amazon.com/s?k=laptops'  # Replace with the desired website URL

# Proxy configuration with login and password
proxy_host = '154.128.31.247'
proxy_port = 8083
proxy_login = 'john.MyProxy-1'
proxy_password = 'proxypanel!123'
proxy = f'http://{proxy_login}:{proxy_password}@{proxy_host}:{proxy_port}'
headers = {

'User-Agent': 'Mozilla/5.0 (Windows NT 10.0; Win64; x64) AppleWebKit/537.36 (KHTML, like Gecko) Chrome/91.0.4472.124 Safari/537.36',
'Accept-Language': 'en-US,en;q=0.9',
'Accept-Encoding': 'gzip, deflate, br',
'Connection': 'keep-alive',
'Upgrade-Insecure-Requests': '1'

}


proxies = {
    'http': proxy,
    'https': proxy
}

# Send a GET request using the proxy
response = requests.get(url, proxies=proxies,headers=headers)

# Check if the request was successful
if response.status_code == 200:
    # Process the response content
    print(response.text)
else:
    print('Request failed with status code:', response.status_code)
Make sure to replace the placeholders with your actual proxy details to complete the setup. This will ensure that Selenium uses the specified proxy for all browser interactions.
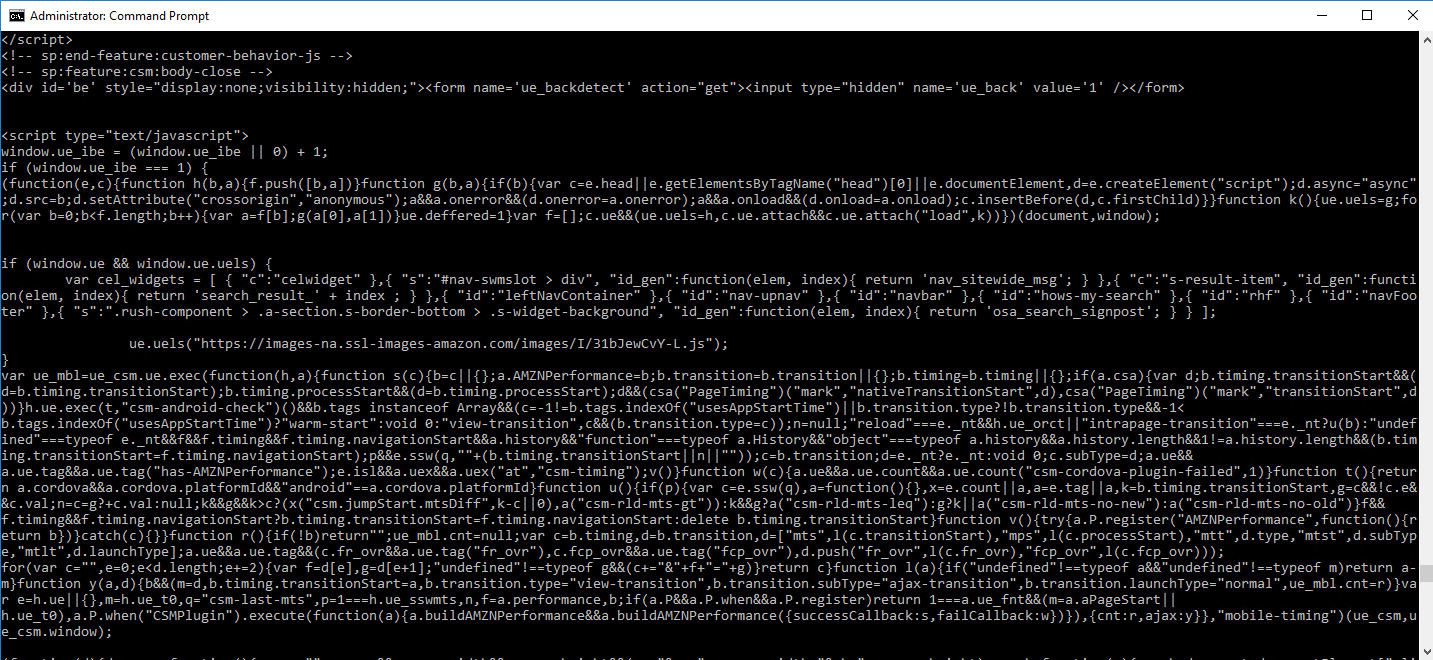
If you see a screen containing HTML, CSS, and JavaScript code, it means you have successfully scraped Amazon items using ProxyPanel proxies. Next, let’s proceed with parsing the HTML content using Beautiful Soup.
After scraping the content, the next step is to parse it using Beautiful Soup. This package specializes in parsing HTML and XML content, making it easy to extract and manipulate the data you need.
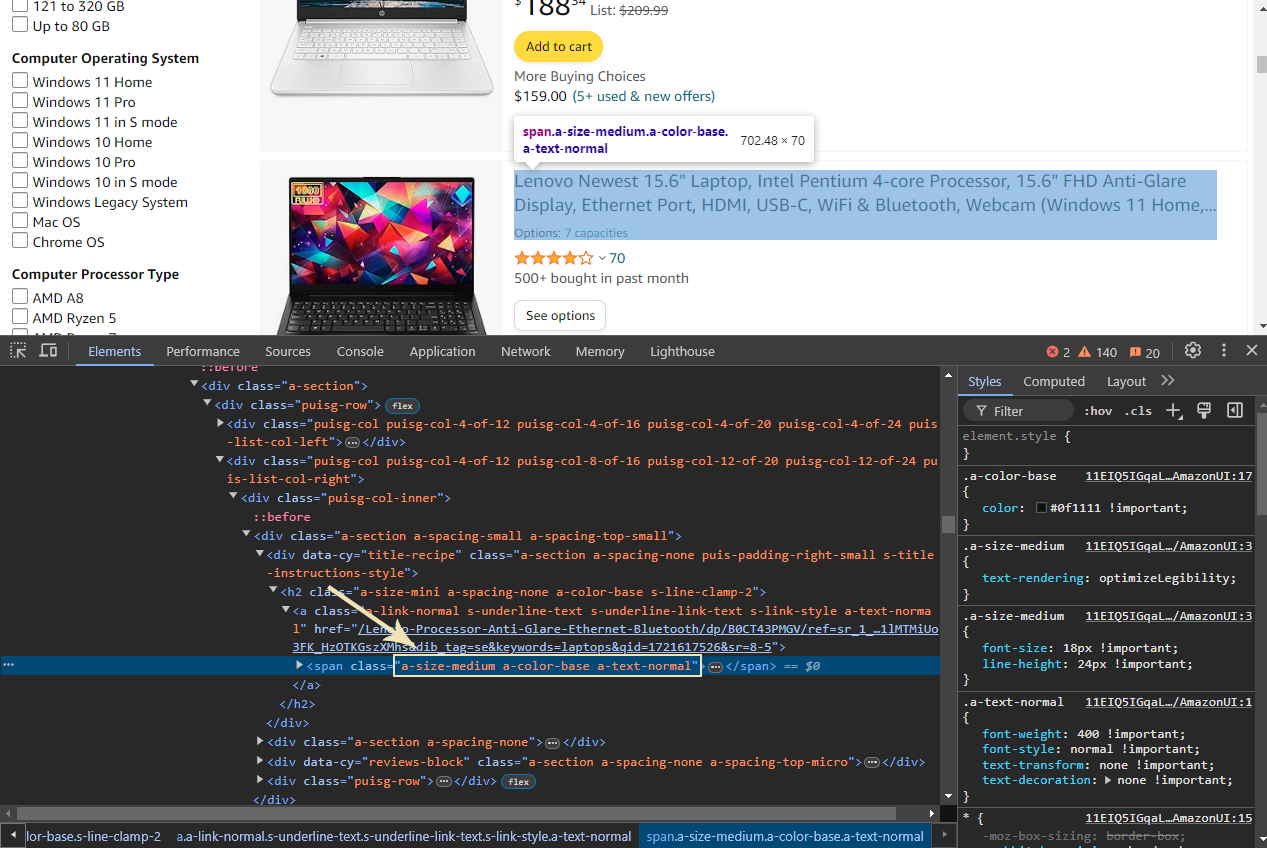
As we see in the picture, each laptop title is contained within a <span> element with the classes a-size-medium a-color-base a-text-normal. To extract these titles, you can use the browser’s Developer Tools (press F12) to inspect the page and confirm these classes. Our task is to extract all <span> elements with these classes to retrieve the titles.
The following code will guide you through parsing all these <span> elements using Beautiful Soup, allowing you to efficiently extract and work with the data.
import requests
from bs4 import BeautifulSoup

# URL to scrape
url = 'https://www.amazon.com/s?k=laptops'  # Replace with the desired website URL

# Proxy configuration with login and password
proxy_host = '154.128.31.247'
proxy_port = 8083
proxy_login = 'john.MyProxy-1'
proxy_password = 'proxypanel!123'
proxy = f'http://{proxy_login}:{proxy_password}@{proxy_host}:{proxy_port}'

# Headers to mimic a real browser
headers = {
    'User-Agent': 'Mozilla/5.0 (Windows NT 10.0; Win64; x64) AppleWebKit/537.36 (KHTML, like Gecko) Chrome/91.0.4472.124 Safari/537.36',
    'Accept-Language': 'en-US,en;q=0.9',
    'Accept-Encoding': 'gzip, deflate, br',
    'Connection': 'keep-alive',
    'Upgrade-Insecure-Requests': '1'
}

# Proxy settings
proxies = {
    'http': proxy,
    'https': proxy
}

# Send a GET request using the proxy
response = requests.get(url, proxies=proxies, headers=headers)

if response.status_code == 200:
    # Process the response content with Beautiful Soup
    soup = BeautifulSoup(response.text, 'html.parser')

    # Find all elements with the specified class
    titles = soup.find_all('span', class_='a-size-medium a-color-base a-text-normal')

    # Print each title
    for title in titles:
        print(title.get_text())
else:
    print('Request failed with status code:', response.status_code)

# Next, we will add functionality to further process or store the extracted data.
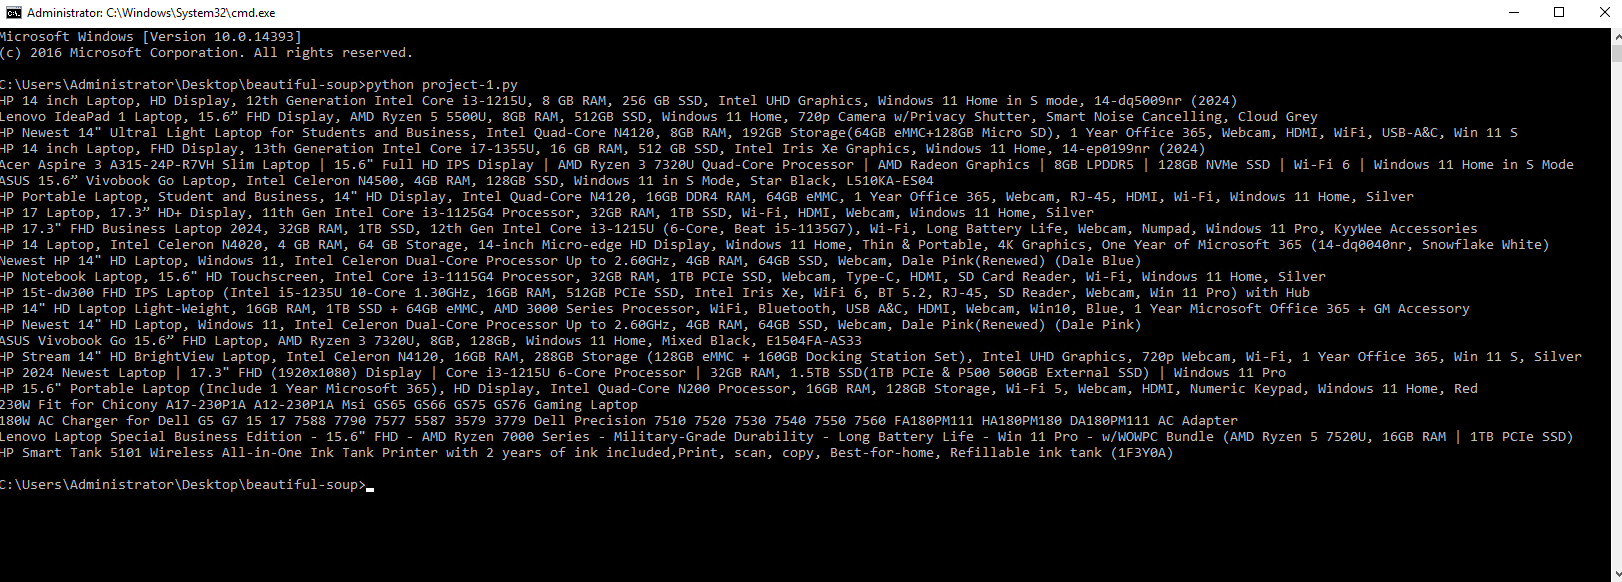
The final output will be a list of laptop titles extracted from the webpage, as shown in the picture. This demonstrates the effectiveness of Beautiful Soup in parsing and retrieving specific data from HTML content. With this approach, you can efficiently gather and utilize the information you need. Thank you for following along with this guide!