

Integration
BitBrowser
The main functions of BitBrowser such as more browser windows, more login accounts, to prevent association between windows and accounts block. Each window can simulate independent computer information and different IP addresses, so that they are completely independent and isolated from each other, and avoid accounts blocked caused by association perfectly!

Setting up proxies using BitBrowser
-
Download and install BitBrowser from the official website onto your device.
Open BitBrowser from your device's applications and either create a new account or log in with your existing credentials.
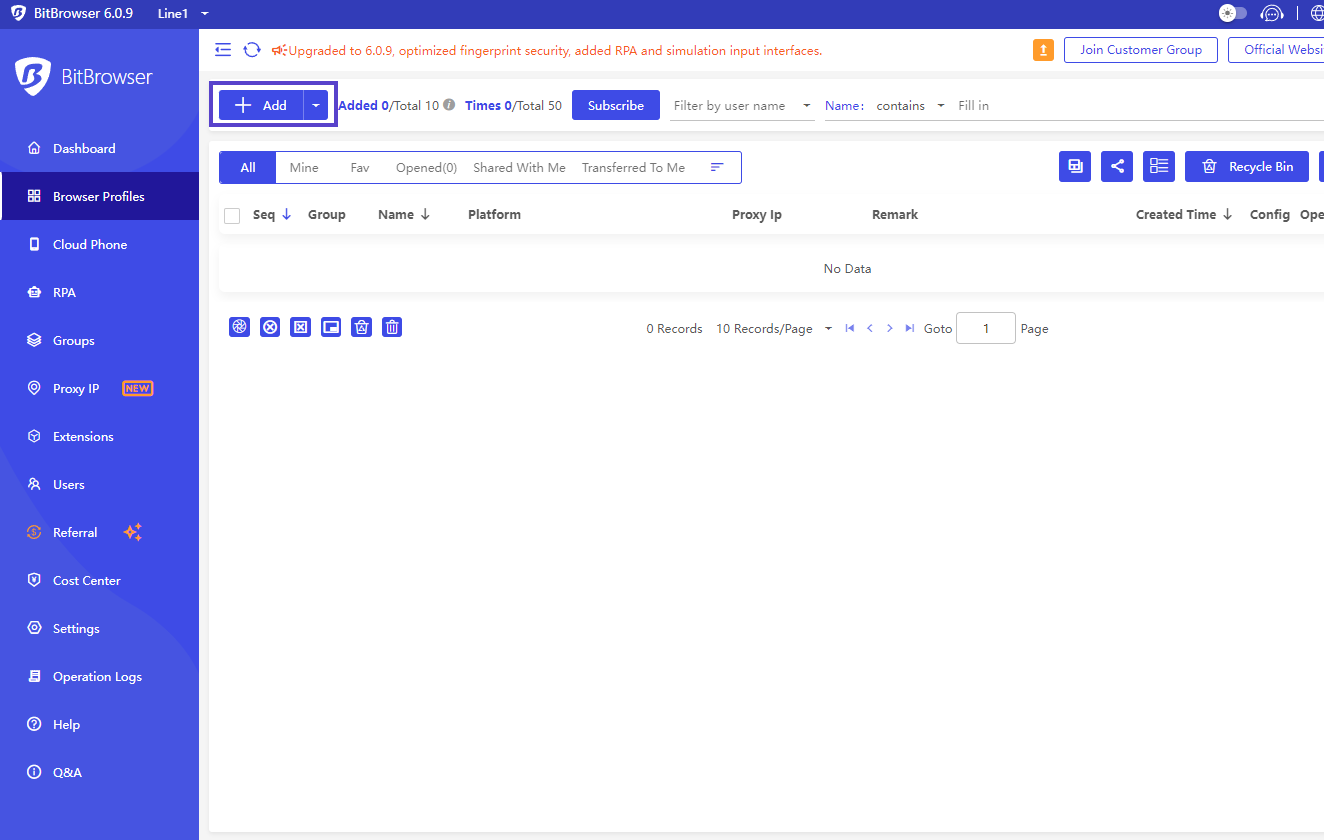
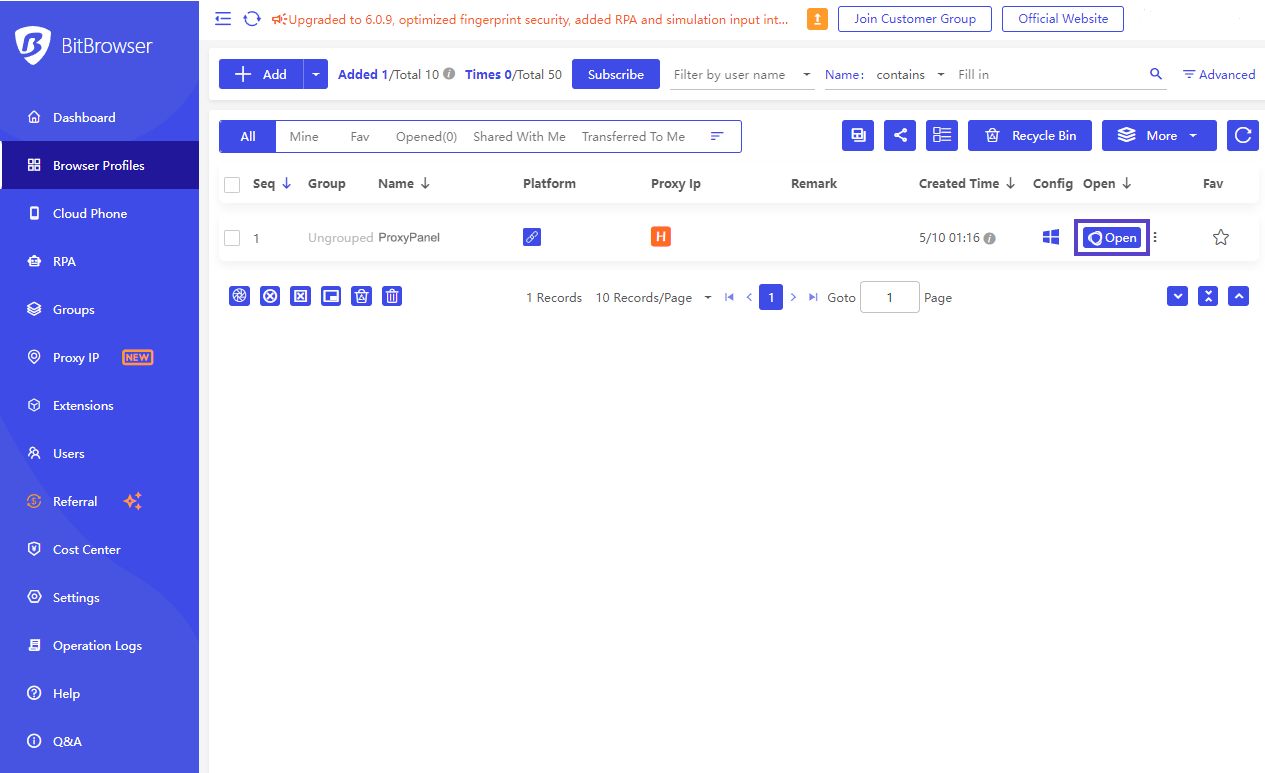
Navigate to the "Browser Profiles" section, then select the "+ Add" button to create a new profile.
-
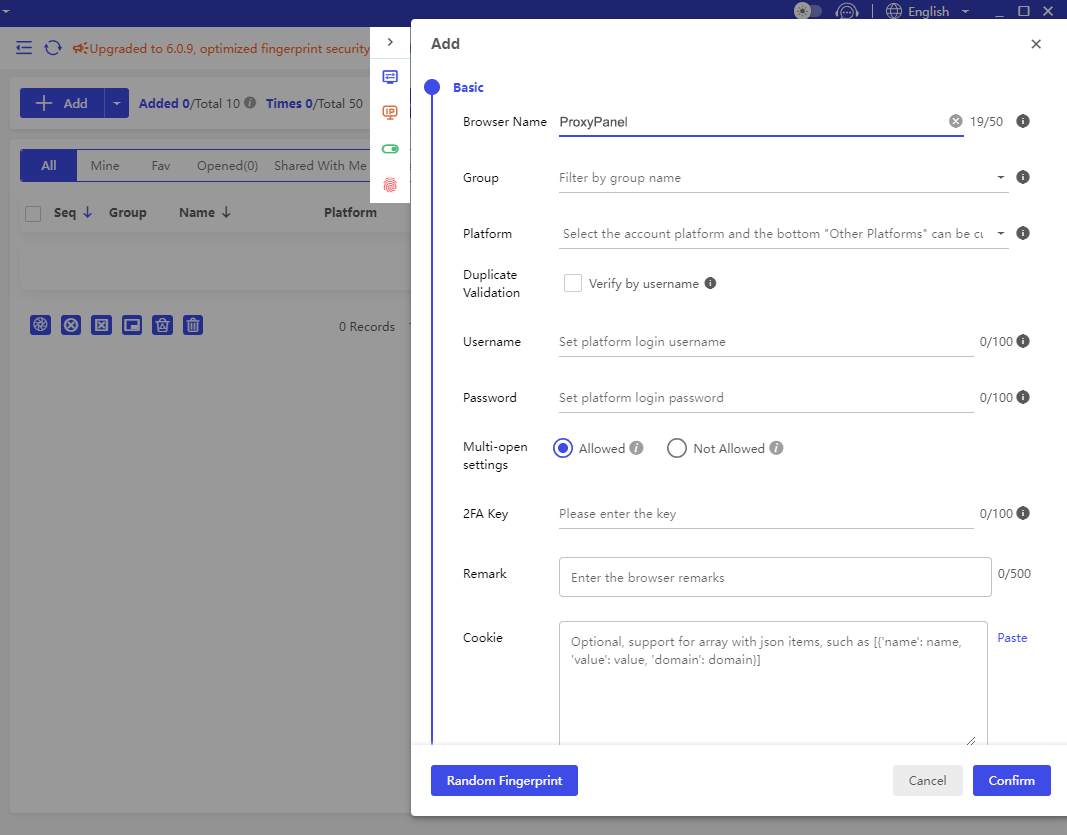
In the "Basic" section, provide the name for your profile and any other required information.
-
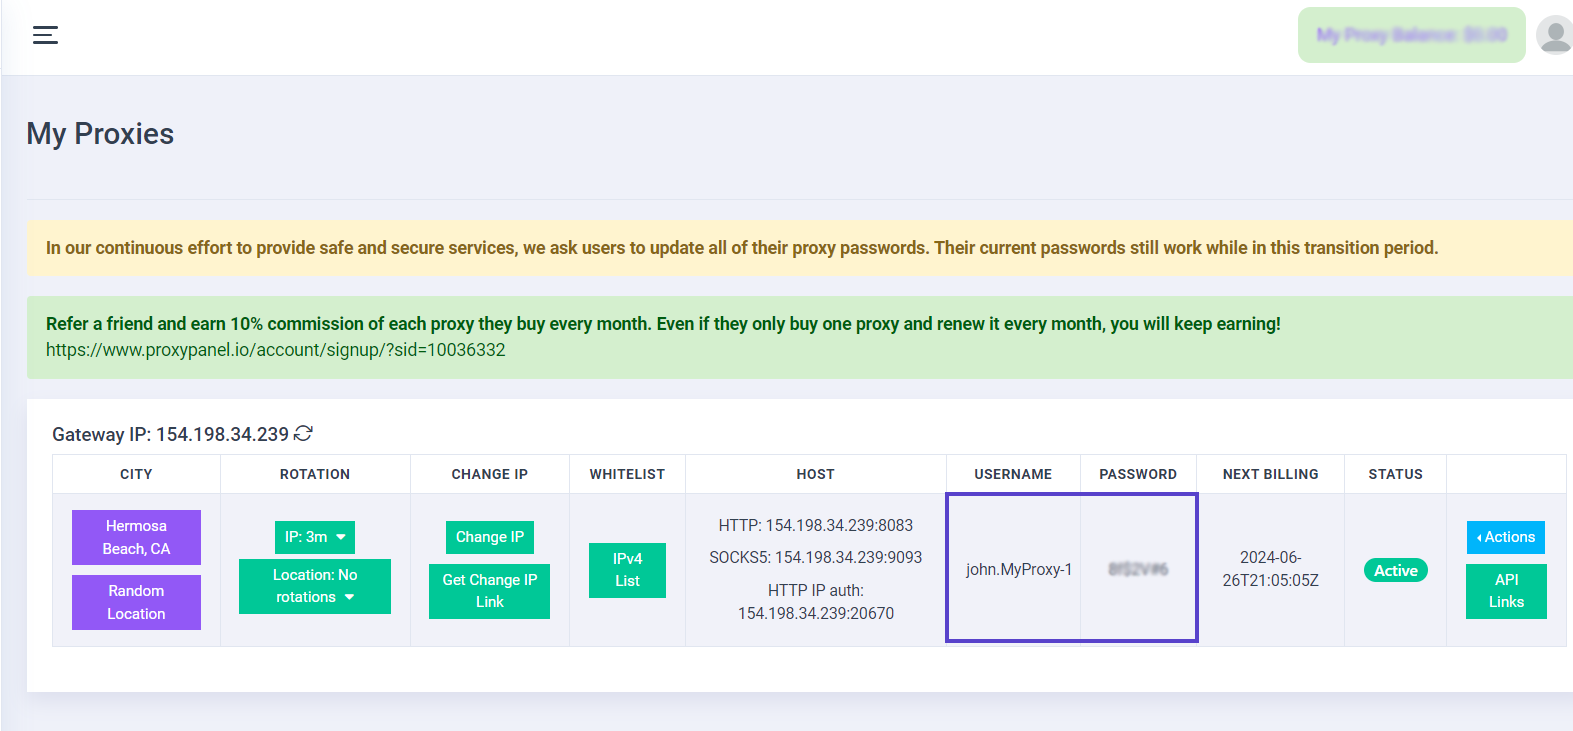
Go to your Dashboard panel and navigate to the "My Proxy" section to view your IP information.
Click on the "Show Password" button and enter your account password to display your proxy password.
-
Proceed by scrolling down to the "Proxy" section and enter all the required details for the proxy connection.
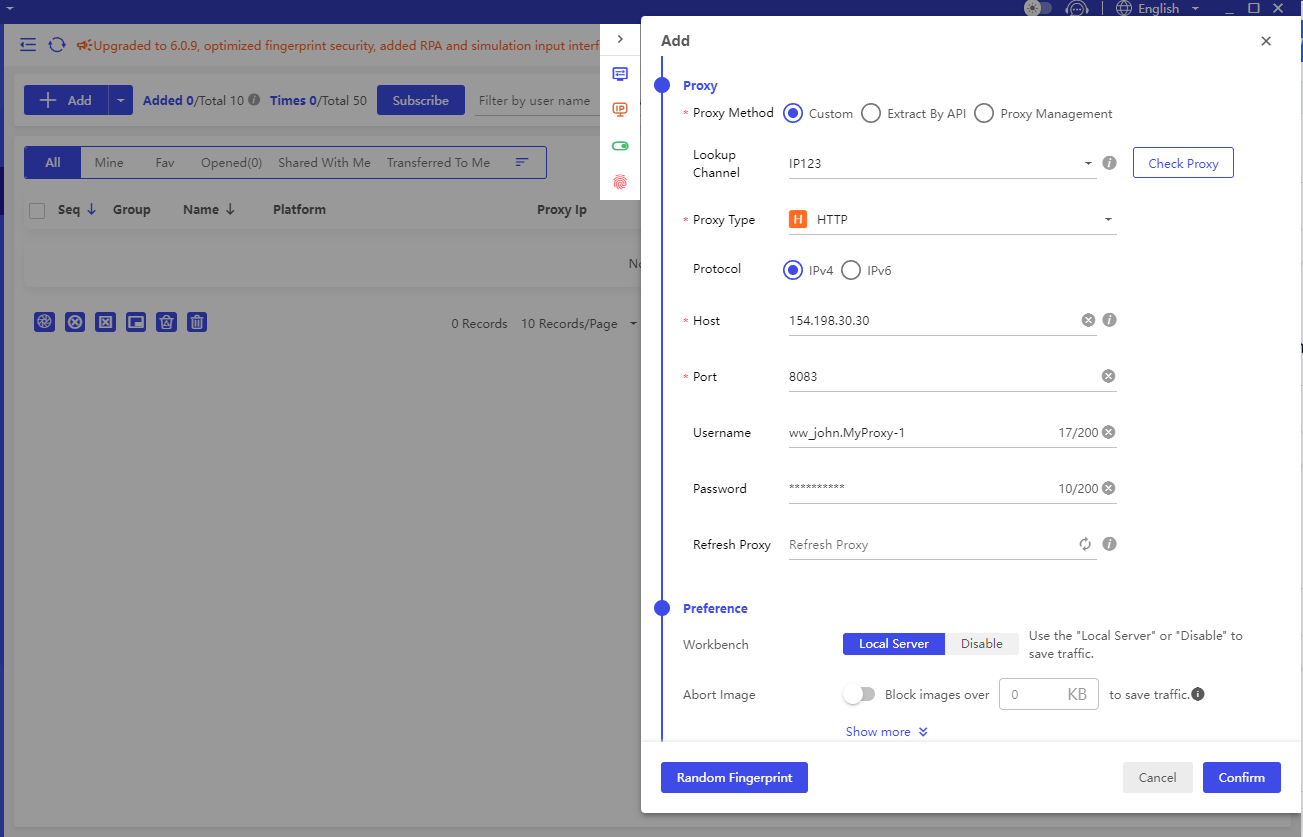
Once you've filled out all the proxy connection details, you can verify if the proxies are functioning correctly by clicking on the "Check Proxy" button. For the Lookup Channel, we suggest using IP-API.
The proxy configuration process is now complete. If you need to modify any other settings, make the necessary changes and then click the “Confirm” button to save your profile.
-
To see that everything works as expected, press Open and launch the browser.
Notice:
You should see a browser window with two tabs open – proxy
location details with an assigned IP and your target website.
You're all set! Now you can leverage BitBrowser, selecting your preferred connection location and boosting your anonymity and security with ProxyPanel.