Integration
Chrome
Google Chrome is a fast, secure, and highly customizable browser known for its user-friendly interface and robust performance. It offers advanced features such as synchronization across devices, extensive extension support, and enhanced security settings. This guide will walk you through installing Chrome, configuring proxy settings, and optimizing your browsing experience. Whether you need to manage multiple accounts or ensure privacy, Chrome provides a comprehensive solution with seamless integration and powerful tools.

Setting up proxies using Chrome Browser
-
Download and install Chrome from the official website onto your device.
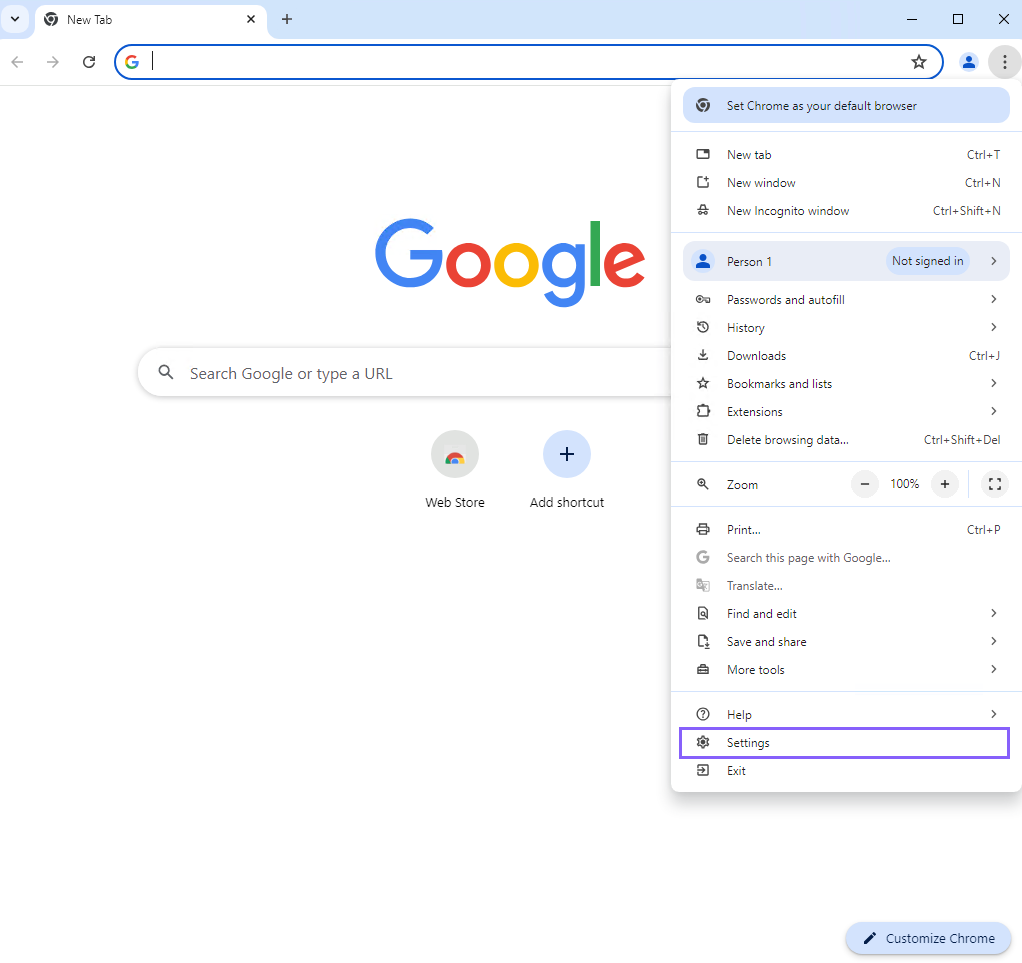
After installing chrome, click the three dots at the top right corner of the browser, then select "Settings."
-
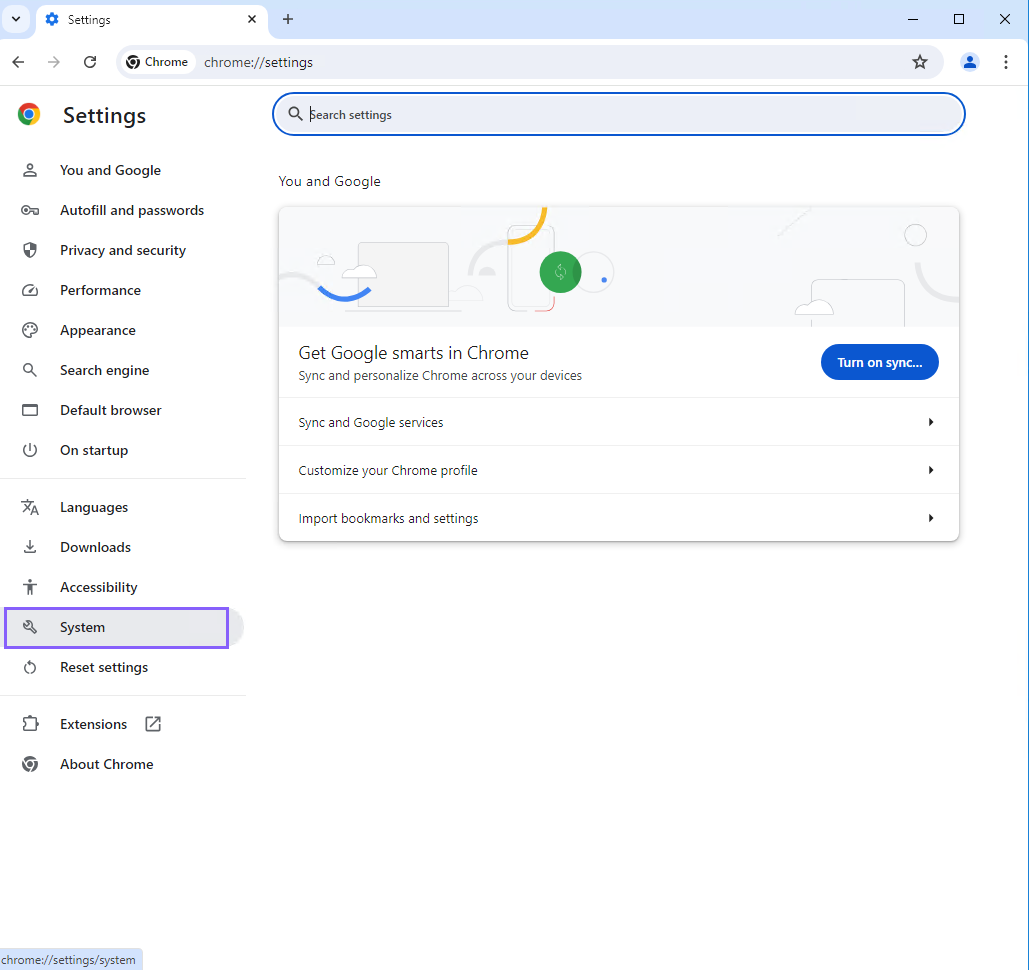
Click on "System" from the left sidebar, as shown.
-
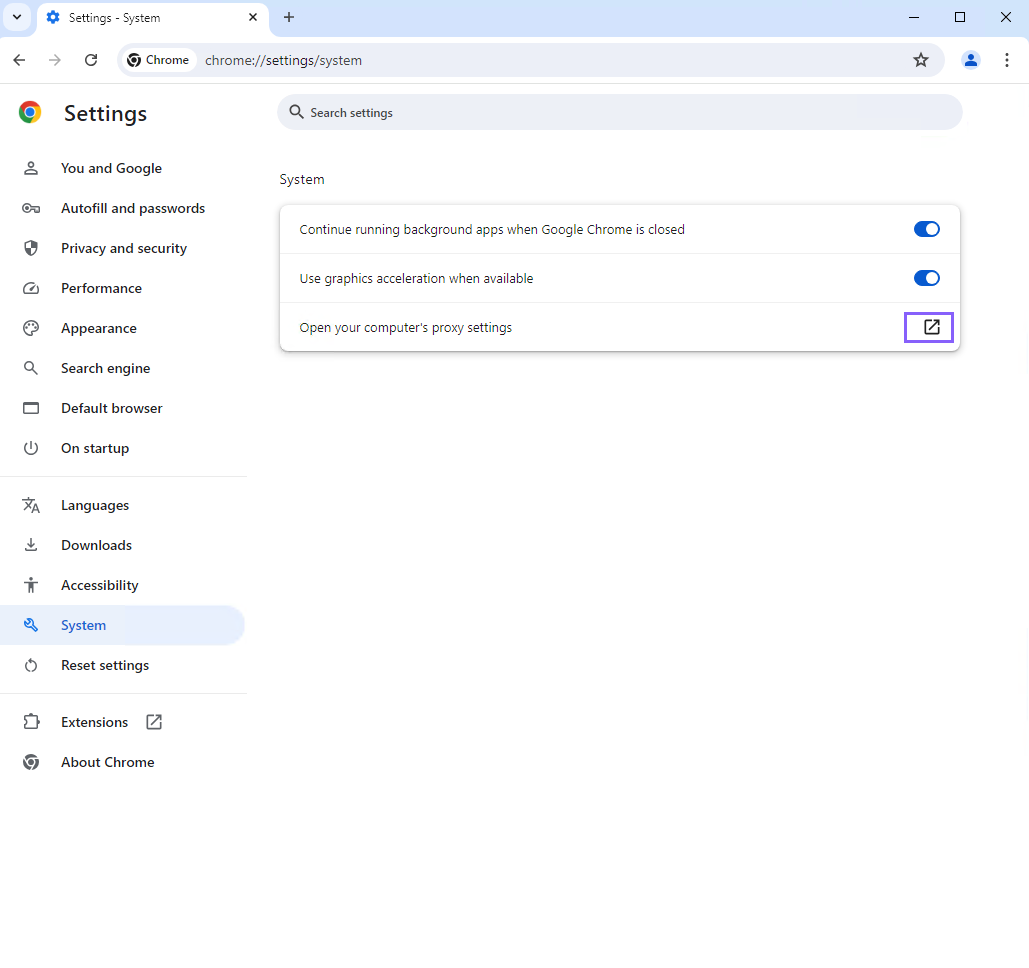
Click on the icon to open the computer's proxy settings, then the window for configuring the proxy of your OS will open.
-
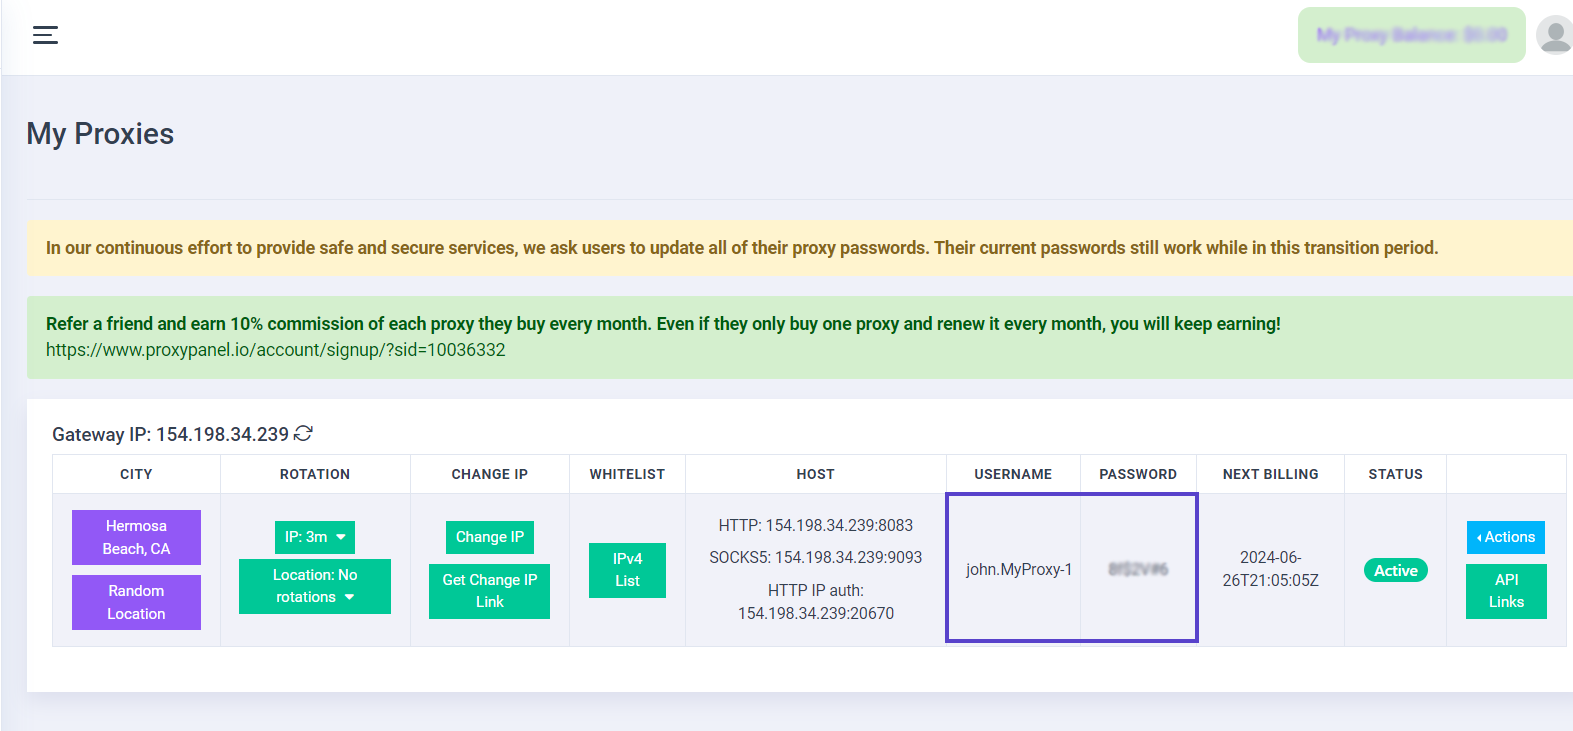
Go to your Dashboard panel and navigate to the "My Proxy" section to view your IP information.
Click on the "Show Password" button and enter your account password to display your proxy password.
-
Toggle "Use proxy server," and then set your proxy IP and port. In this case, use Port 8083 for HTTP. Then click on "Save"
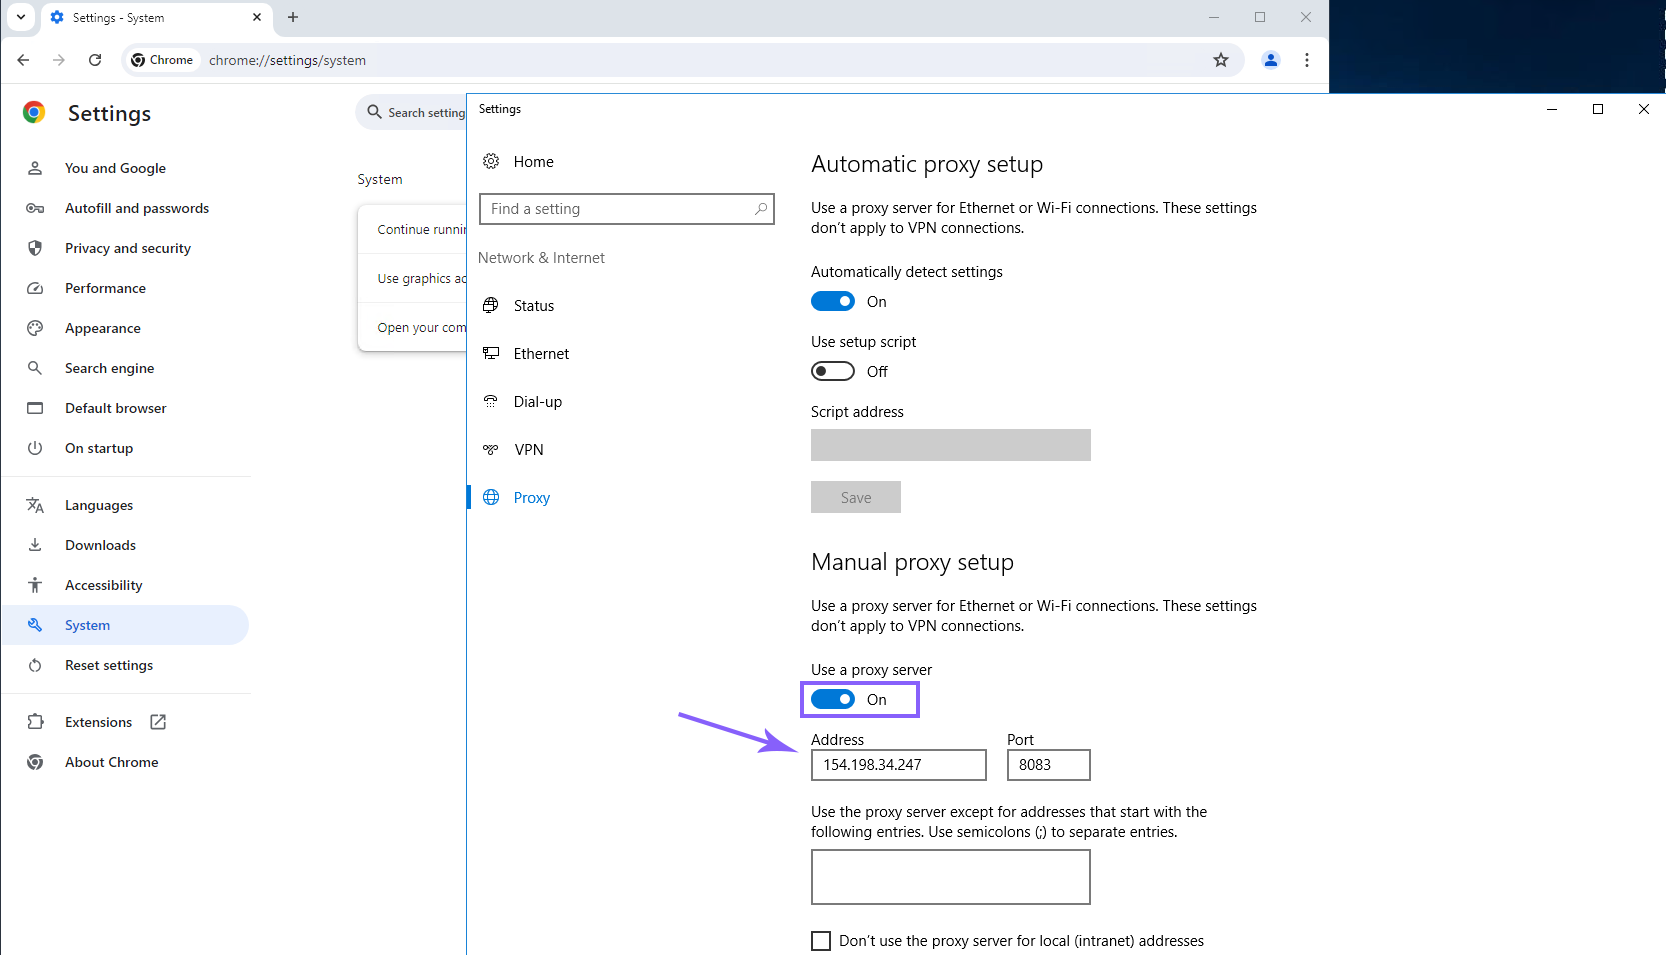
Note: If you need to use SOCKS5, you have to use port 9093.
-
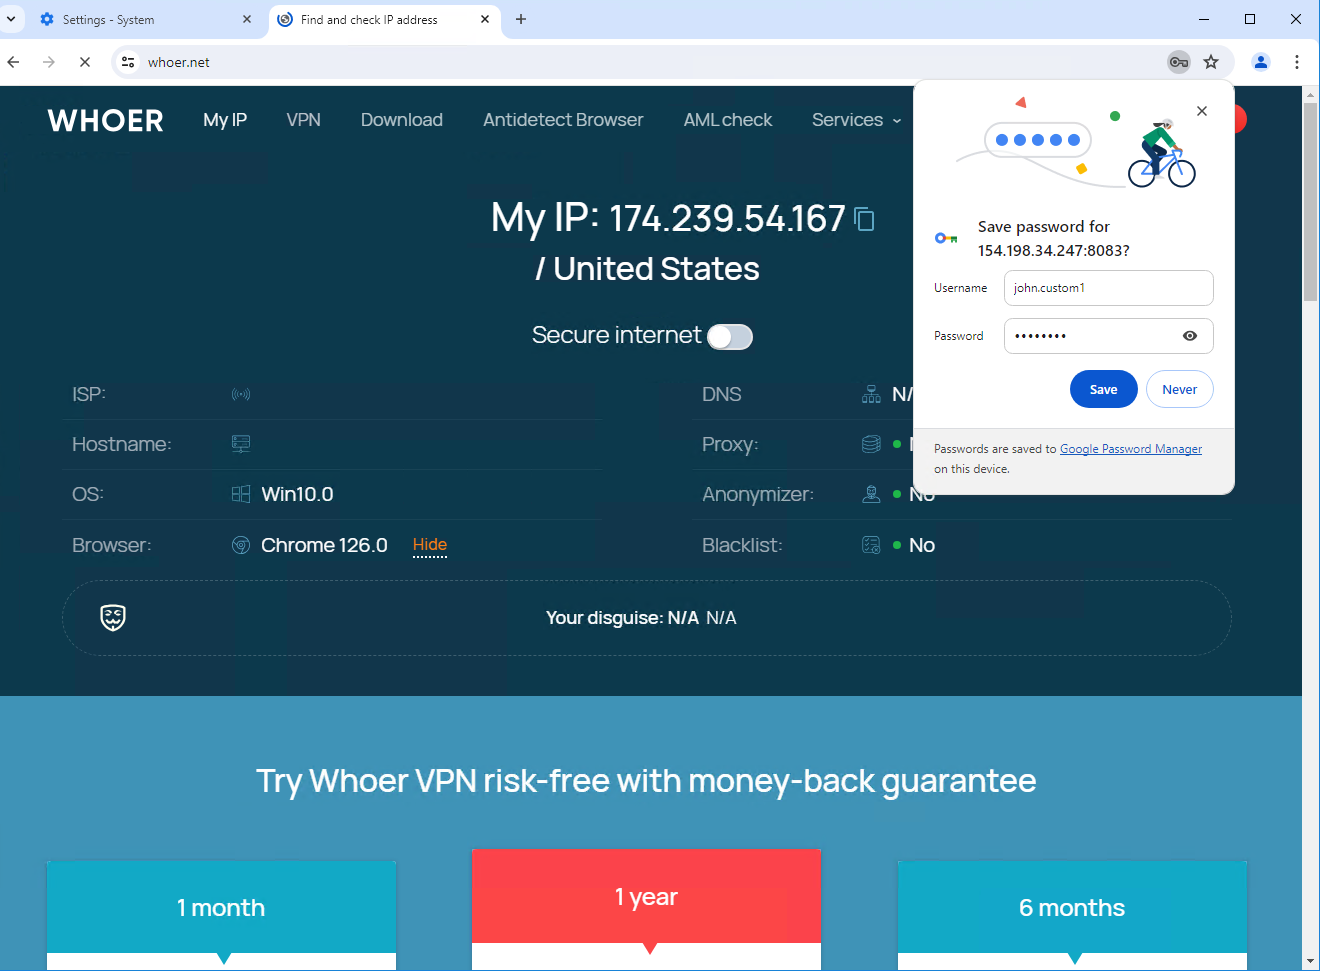
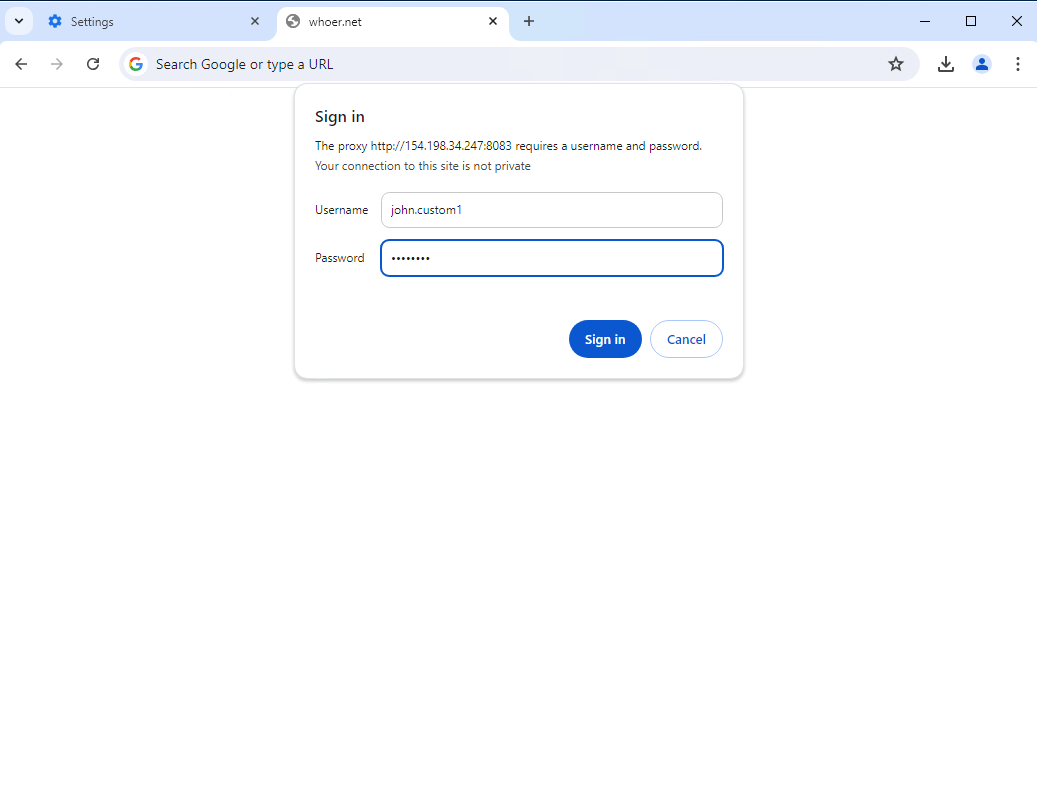
You will be prompted to enter your username and password for authentication.
-
That's it—you have successfully set up your proxy.