

Integration
Ghost Browser
Ghost Browser extends your browsing capabilities beyond limitations imposed by traditional browsers. By incorporating proxies, it empowers you to manage multiple accounts simultaneously and execute scraping tasks with diverse IP addresses, elevating your browsing experience to new heights.

Setting up proxies using GhostBrowser
-
Download Ghost Browser from the official website to access its advanced features
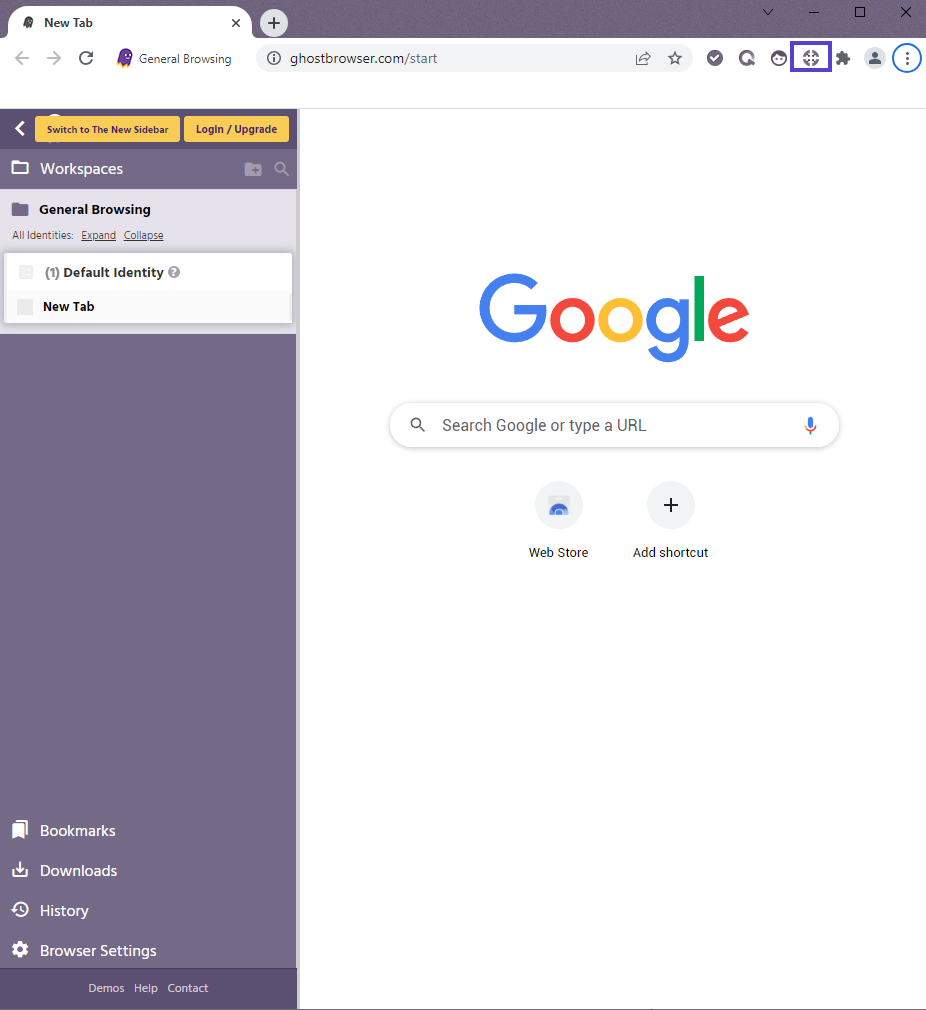
After installation, click on the icon located in the top-right corner of Ghost Browser to access Ghost Proxy Control.
-
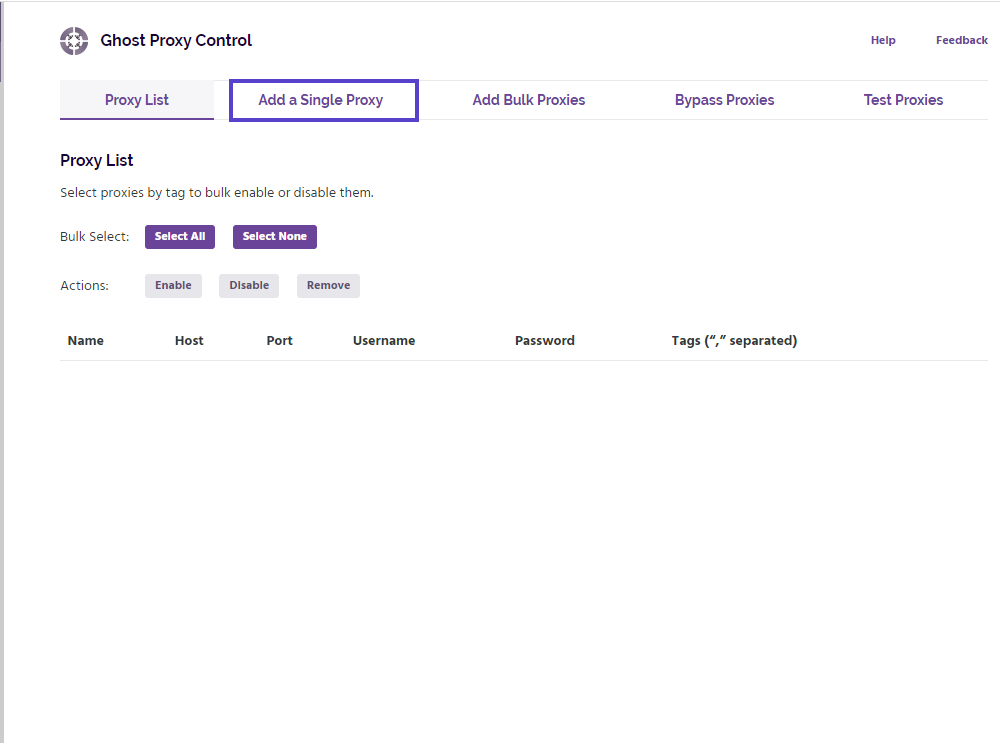
Navigate to the "Add a Single Proxy" tab to input your proxy details and configure the settings accordingly.
-
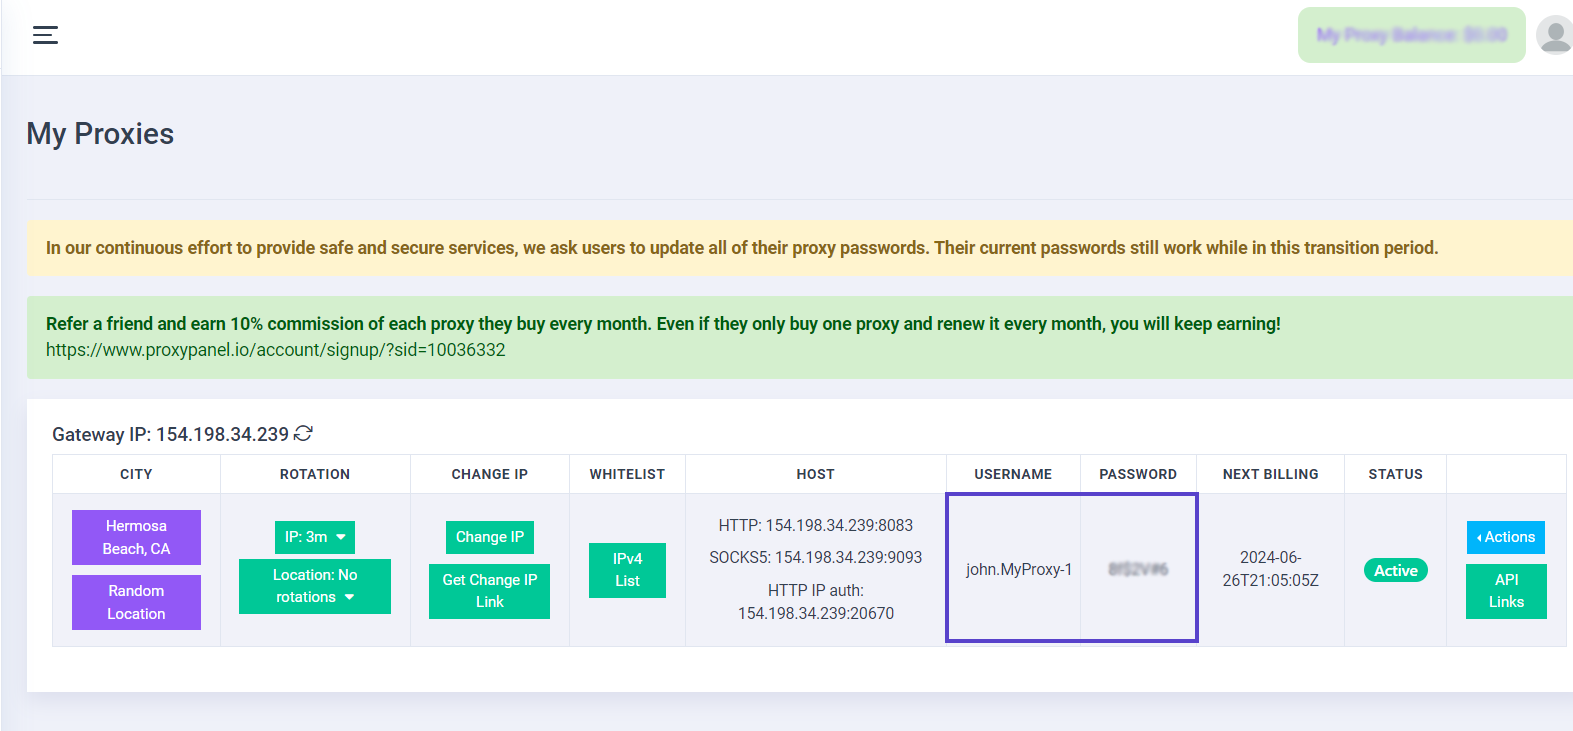
Go to your Dashboard panel and navigate to the "My Proxy" section to view your IP information.
Click on the "Show Password" button and enter your account password to display your proxy password.
-
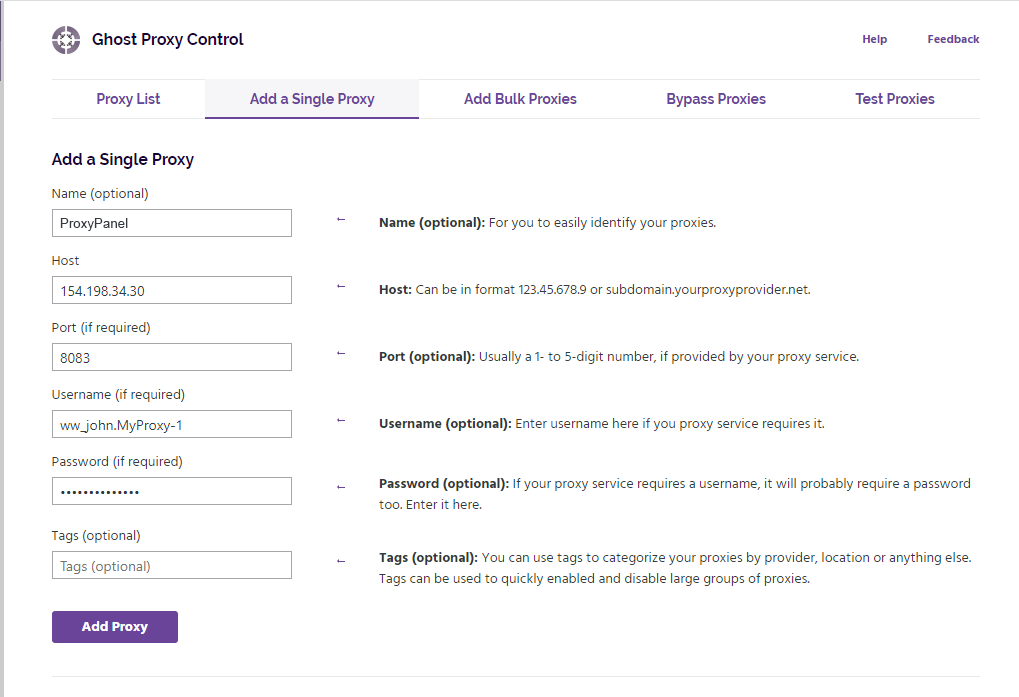
Enter the essential details for configuring your proxy settings, then proceed by clicking on the "Add Proxy" button.
-
Click the "Proxy List" tab to return to the list of proxies. Then, right-click on your proxy and select the "Enable" button to activate it.

If you wish, you can test your proxies by navigating to the "Test Proxies" tab. Enter a target URL and select "Test" to run the test.
That’s it! You’ve successfully integrated ProxyPanel with Ghost Browser.