Integration
SwitchyOmega
SwitchyOmega is a browser extension crafted to streamline the management and switching of various proxy settings within your browser. It empowers you to effortlessly transition between different proxy servers and establish specific proxy rules for individual websites, thereby enhancing your browsing experience.
Setting Up Proxies using SwitchyOmega
Start by installing the extension. The original SwitchyOmega is no longer maintained and has been removed from the Chrome Web Store; in Chrome, Brave or Edge, install ZeroOmega, a maintained fork with the same settings pages (it is also listed on Firefox Add-ons). The steps below apply to both.
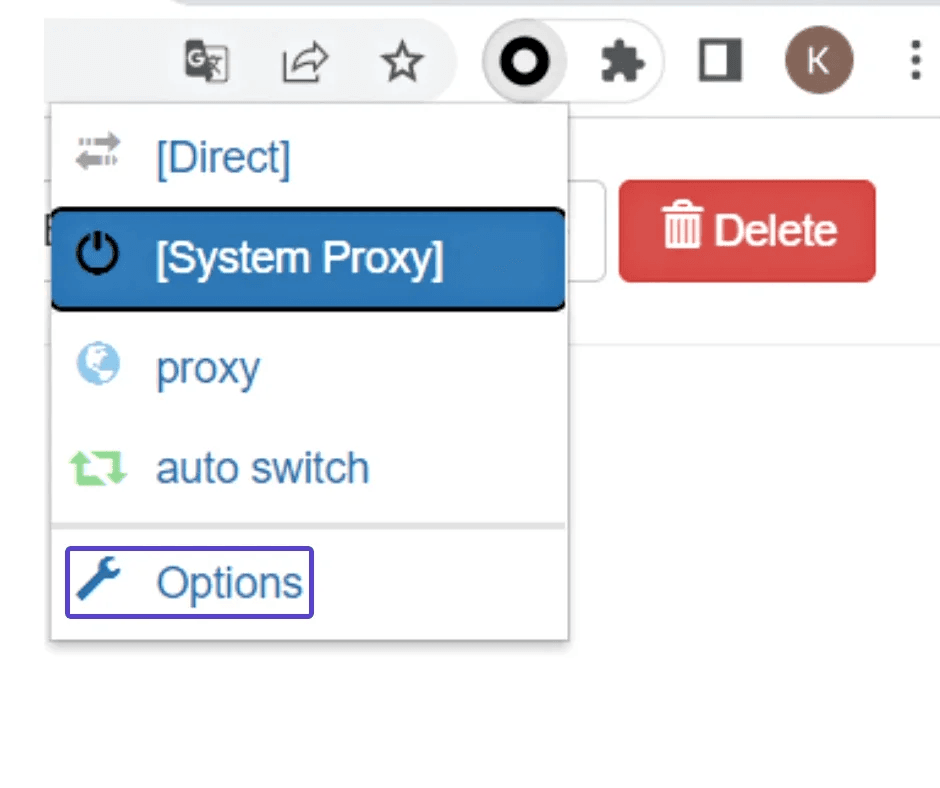
Once the installation is complete, click the extension icon and choose "Options" to open the settings.
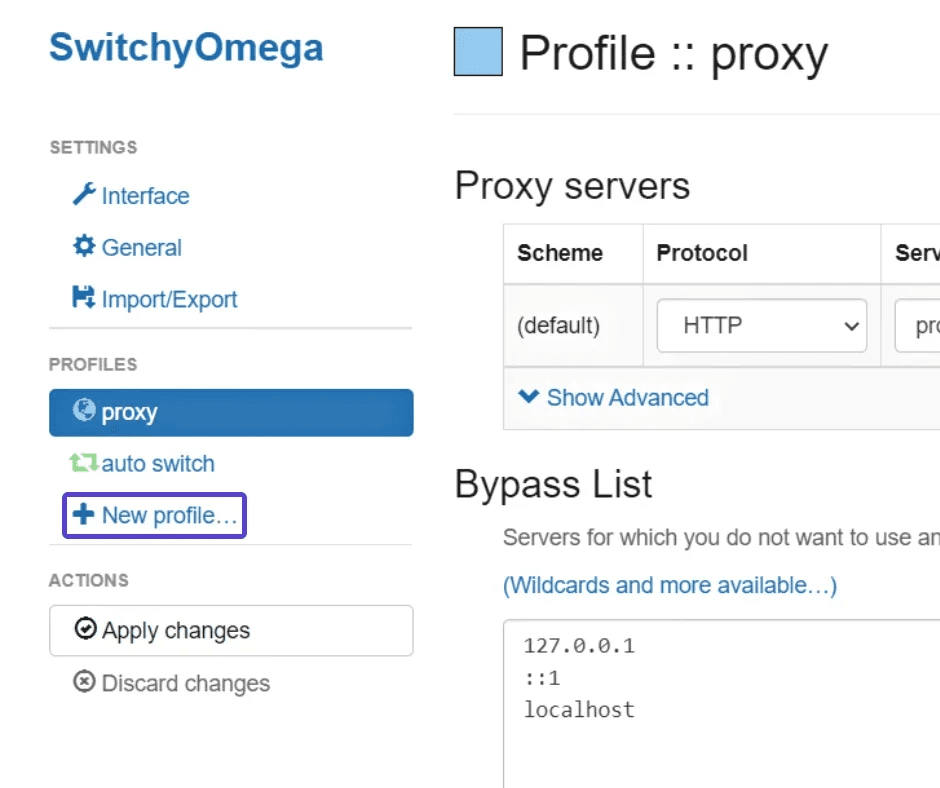
To begin, click "New profile…" under Profiles to create a new profile.
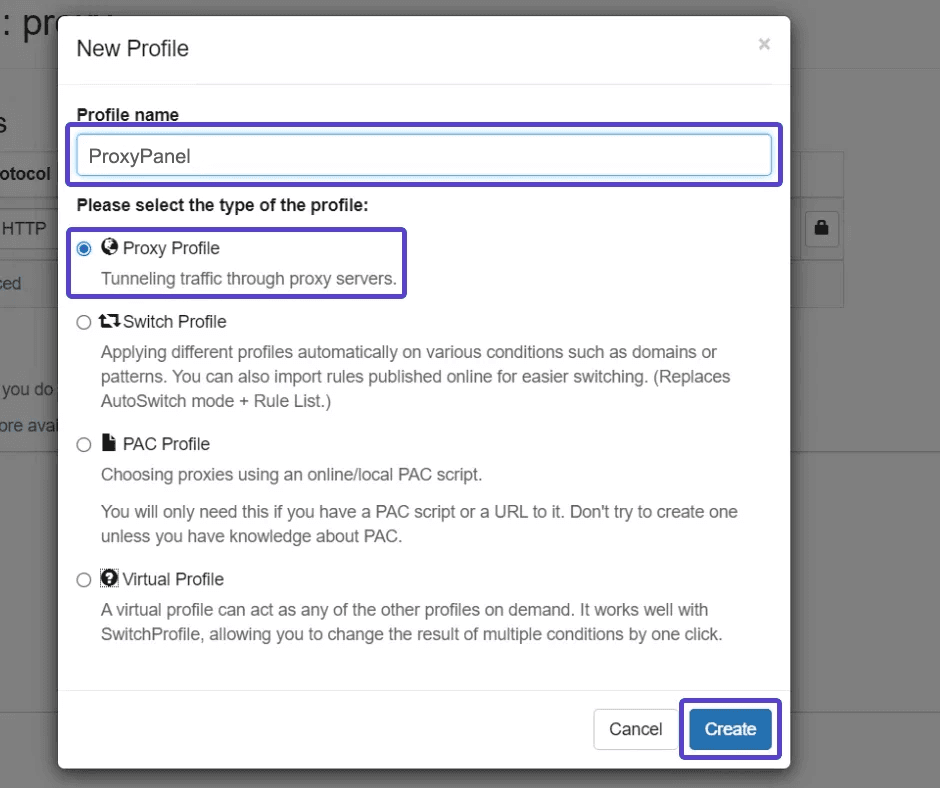
Configure your new profile:
- Give your profile a name that is easy to remember
- Choose the Proxy Profile type, then click the Create button
Sign in to your dashboard and open "My Proxies". If your proxy shows "Pending", press "Start proxy" first. The host and the HTTP port are on the proxy's "HTTP proxy" line (host:port).
Your proxy username is under "Credentials" ("Copy username"). The password is masked: click the eye icon ("Show / hide") to see it, or "Copy password" to copy it. Your account password is not needed for this.
Fill in the default row of the Proxy servers table with the data from your dashboard: Protocol HTTP, Server set to the host, and Port set to the HTTP port. Chrome cannot send a username and password to a SOCKS5 proxy, so keep the protocol on HTTP.
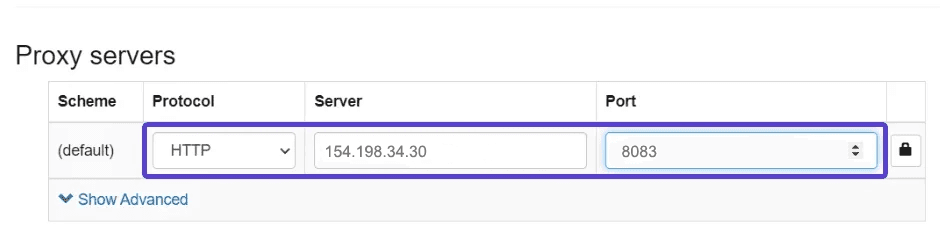
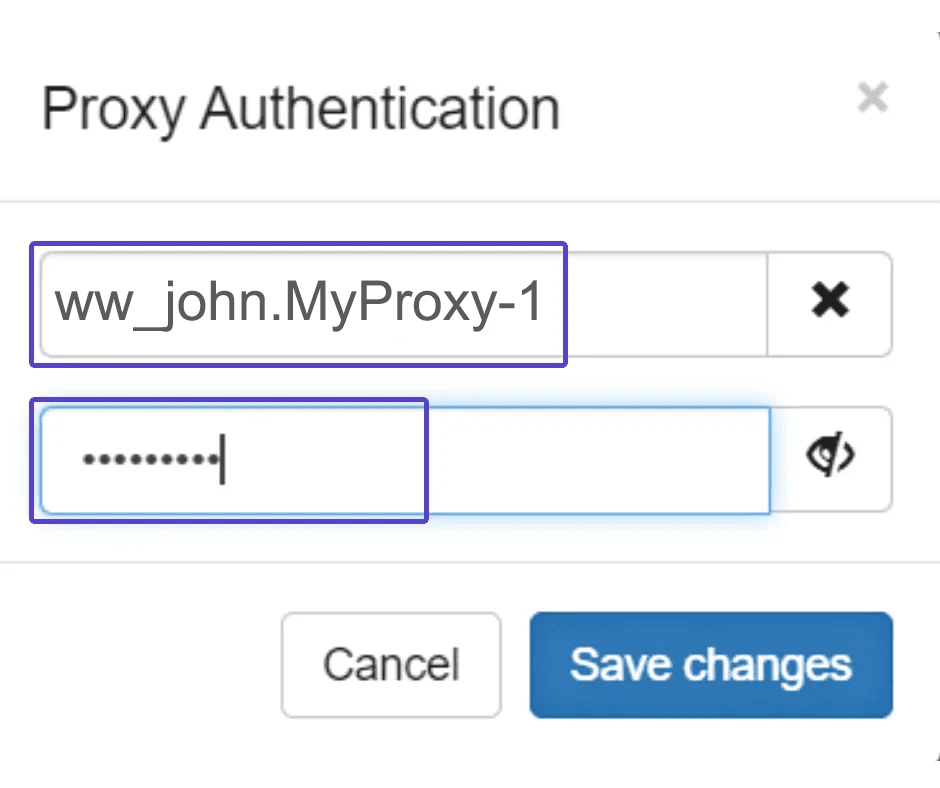
Click the "Lock Icon" button at the end of the row. In the Proxy Authentication window, enter your proxy username and password and click "Save changes".
Click on "Apply changes" on the left side to ensure your changes take effect. Then click the extension icon and choose your profile by name to start using the proxy; choose "[Direct]" to stop.